API / MCP Keys
These keys authenticate REST API integrations and MCP clients for this provider. Open Settings → API / MCP in the Control Center.
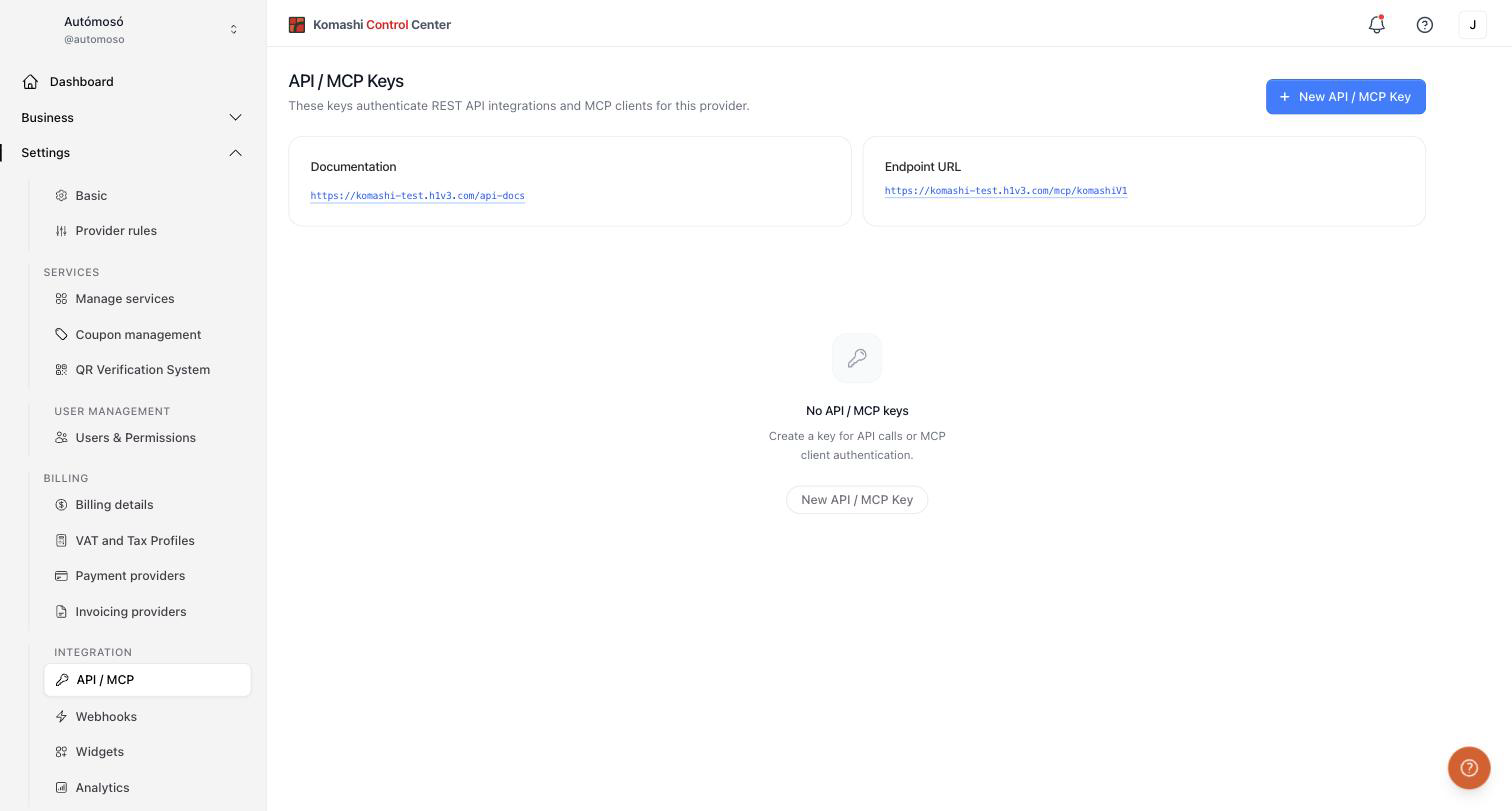
Until you create your first key the page shows an empty state — No API / MCP keys.
API Resources
The page shows two links for your provider:
-
Documentation — the interactive REST API reference (OpenAPI) for your instance:
https://<your-instance>/api-docs -
Endpoint URL — the MCP endpoint for AI integrations:
https://<your-instance>/mcp/komashiV1
Replace <your-instance> with the host of your Control Center. See MCP Endpoint for how to connect an AI client to it.
Create an API key
- Click New API / MCP Key.
- Enter a Token Name that identifies where or by whom the token is used, for example
Production Data Sync. - Select the permissions the key needs:
- Create — add new resources (services, items, data).
- Read — view and retrieve existing data without modifying it.
- Update — edit existing resources.
- Delete — remove resources. Use with caution — these actions may be irreversible.
- Click Create Token.
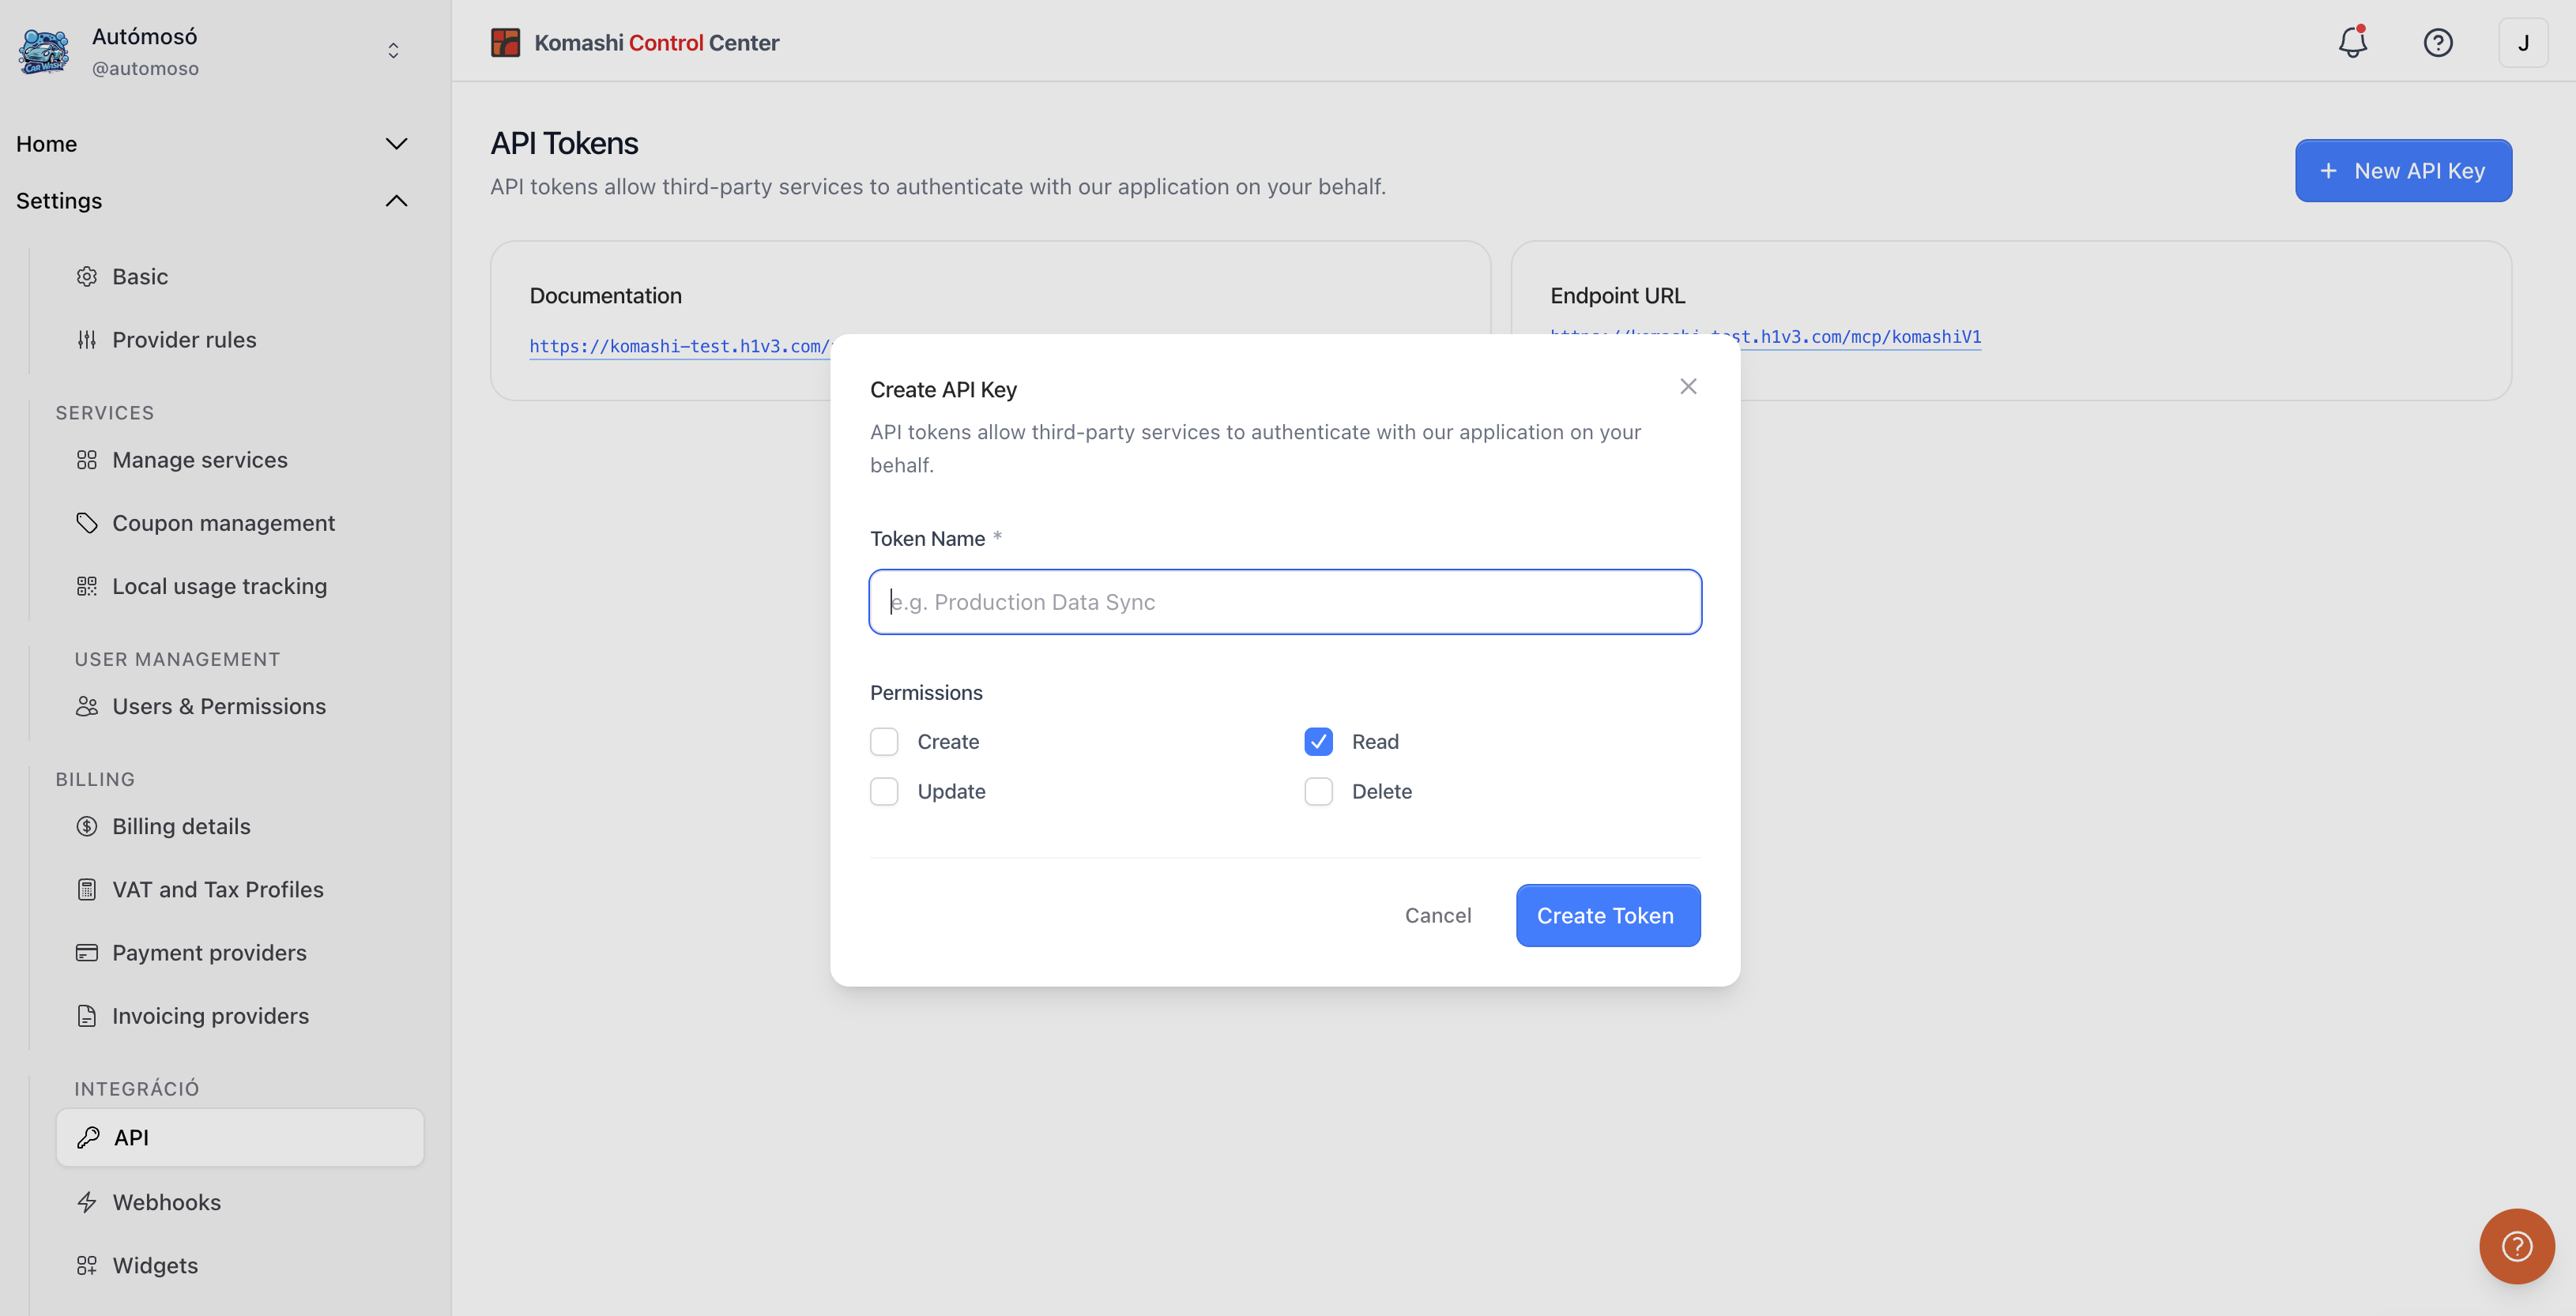
Choose only the permissions your integration requires.
The token is displayed only once after creation. Store it securely.
Manage existing keys
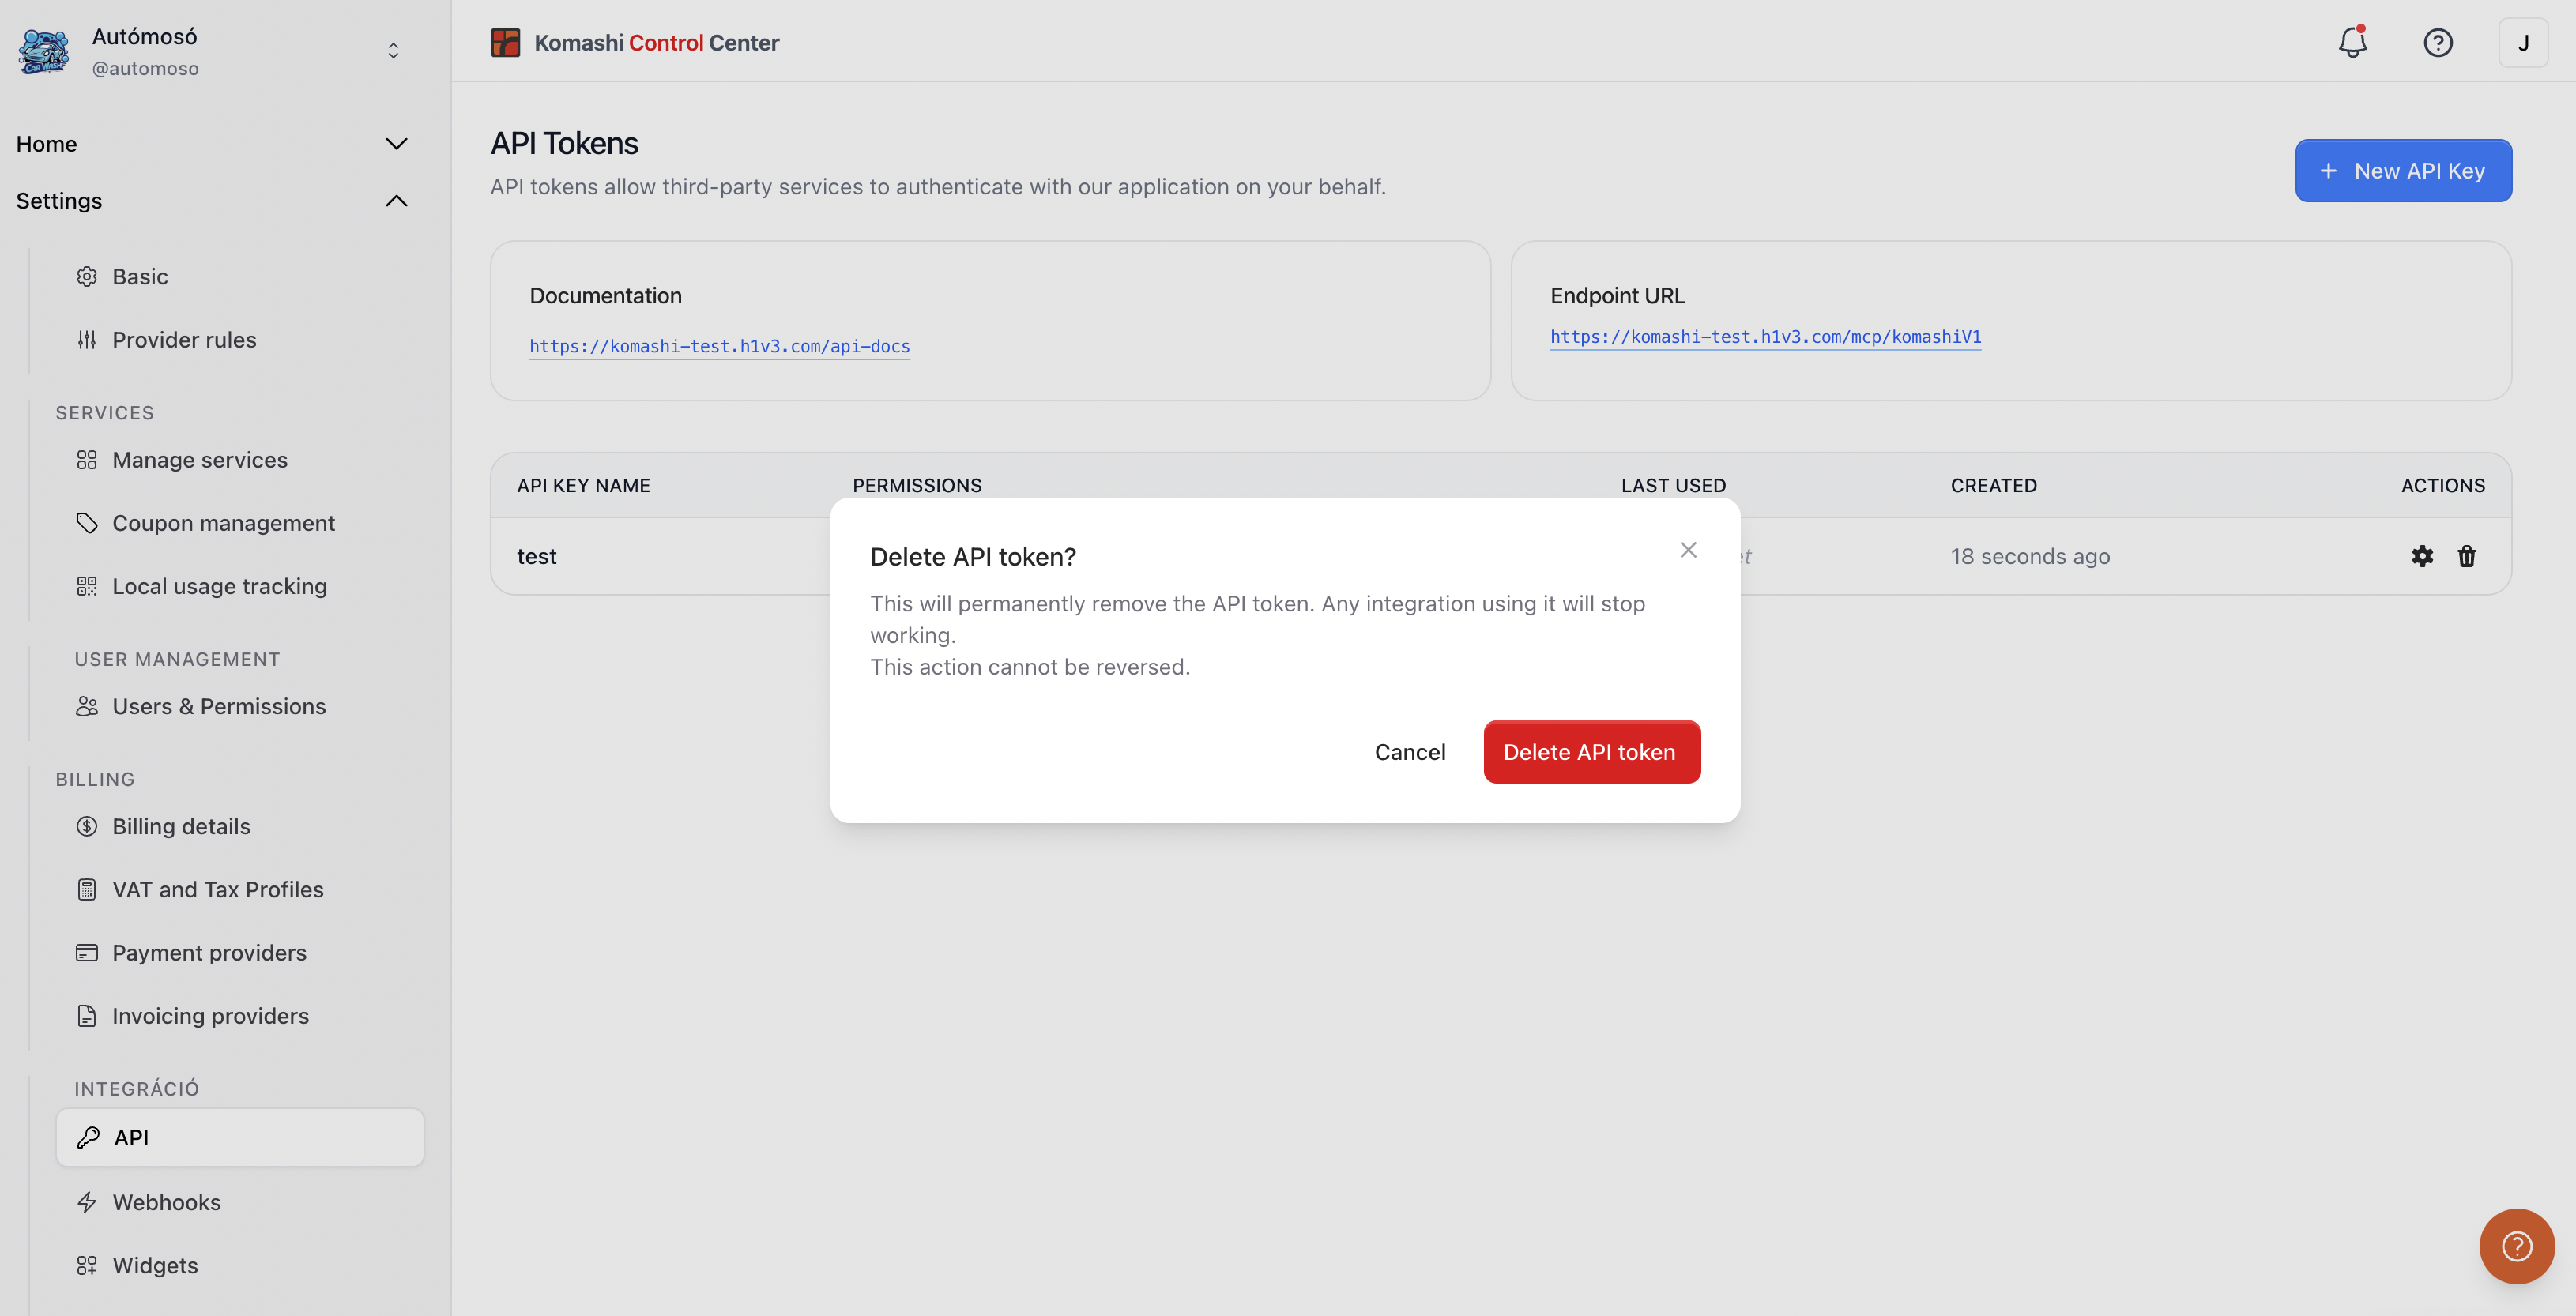
The key list shows each token's permissions, when it was last used, and when it was created.
- Click the gear icon to update the key's permissions.
- Click the trash icon to delete the key.
Delete an API key
Deleting a token permanently removes it. Any integration using it stops working, and the action cannot be reversed. Confirm with Delete API token.
Related: Webhooks